


Recipe Box
Cakes & Tarts
View Recipe
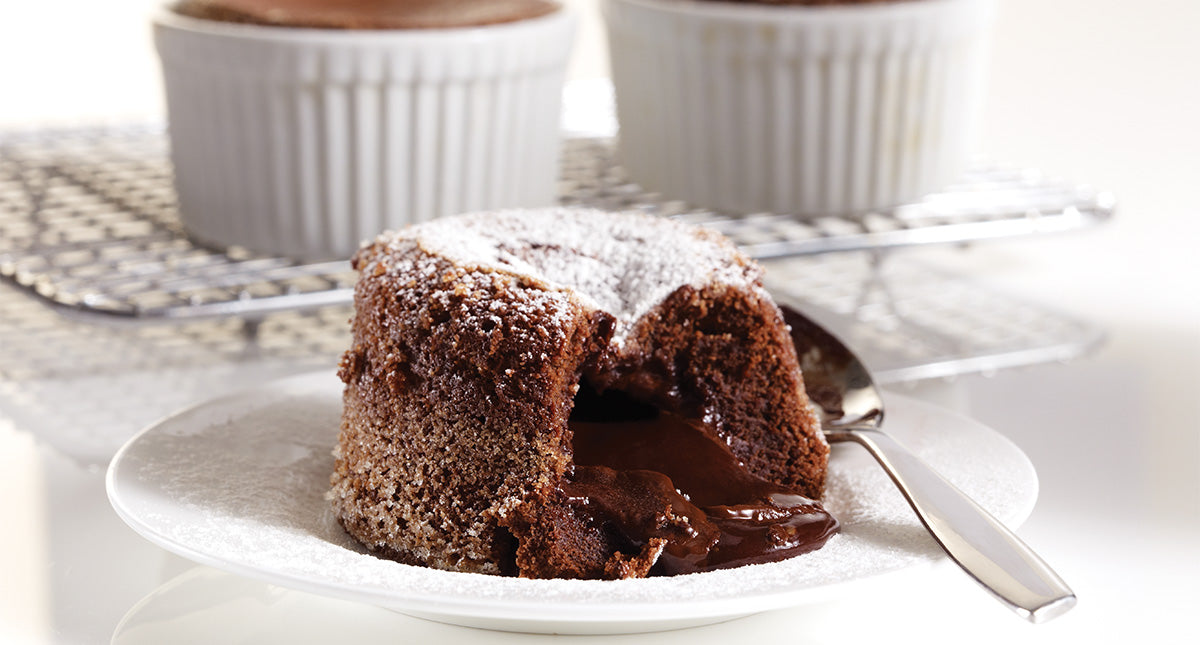
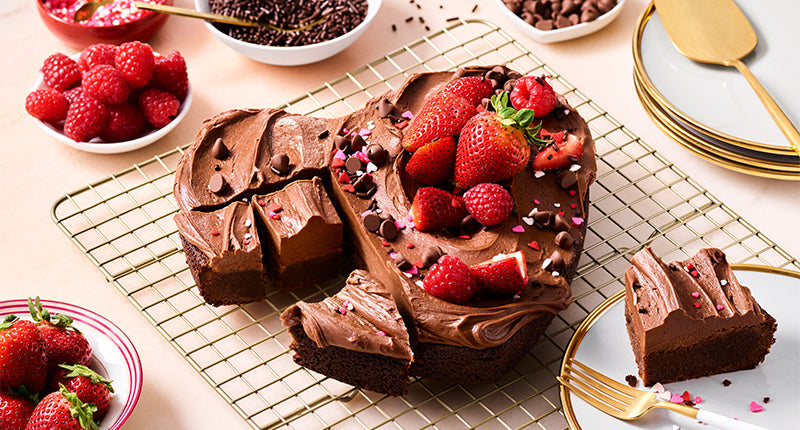
GODIVA Truffle Lava Cake
Prep Time
15 min
Cook Time
15 min
Servings
6
Rich, decadent, and simply irresistible, these chocolate lava cakes have soft, gooey centers that melt out with every bite—and you won't believe how easy they are to perfect.
Filter Recipes
Recipe type
12
results

Cakes & Tarts
GODIVA Truffle Lava Cake
Rich, decadent, and simply irresistible, these chocolate lava cakes have soft, gooey centers that...
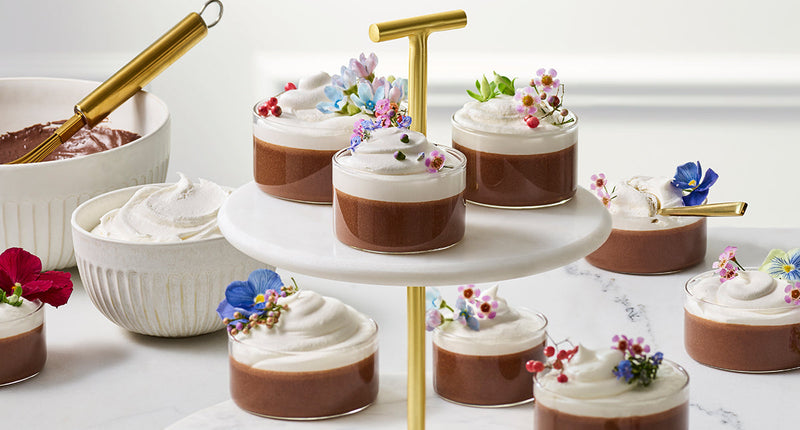
Family Favorites
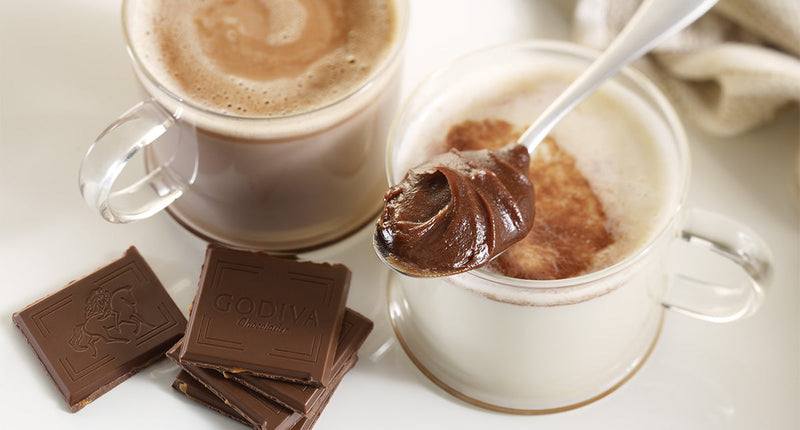
Pots de Créme
Family Favorites
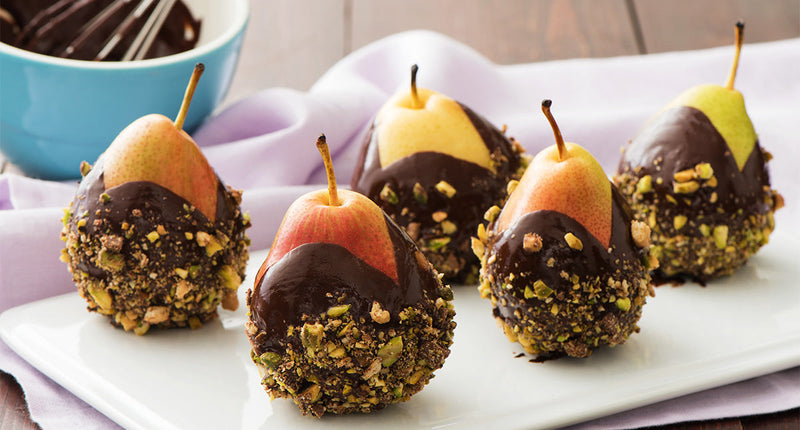
Chocolate-Dipped Holiday Pears
Family Favorites
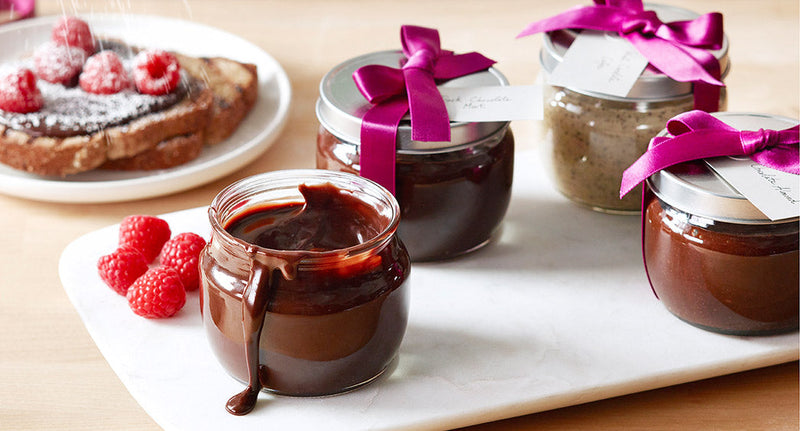
GODIVA Chocolate Spreads
Family Favorites
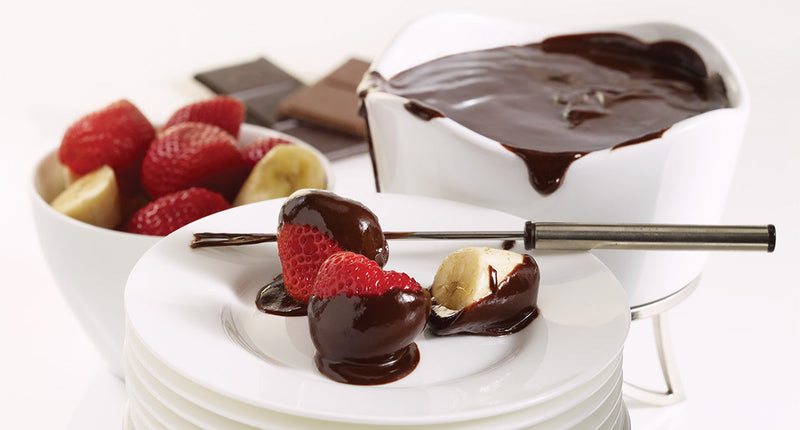
Chocolate Dipped Strawberries with Chocolate Fondue Recipe

Breakfast & Breads
Chocolate Focaccia
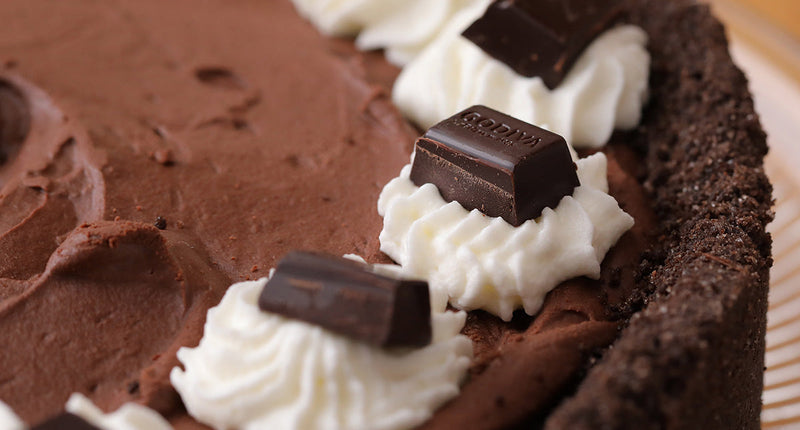
Cakes & Tarts
GODIVA Chocolate Icebox Pie

Cookies Cupcakes & Bars
Dark Chocolate Sea Salt Brownies
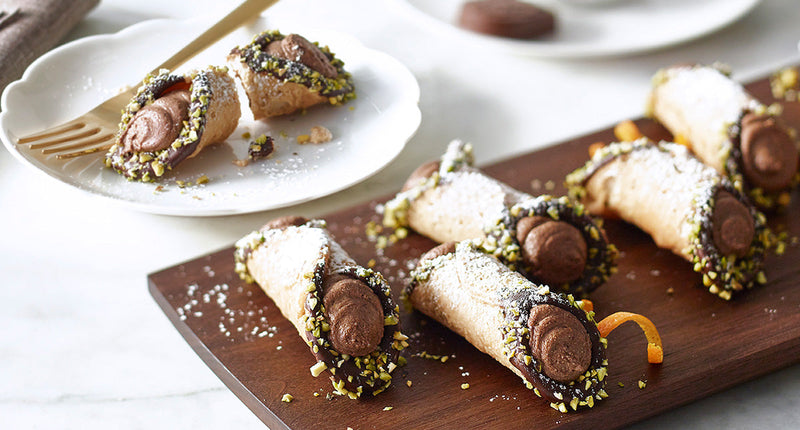
Cookies Cupcakes & Bars
Mini Chocolate Cannoli

Cookies Cupcakes & Bars
S'mores Brownie Cupcake
Cookies Cupcakes & Bars